Using an antivirus scanner manually is too risky because this can lead to a dangerous situation and sometime you ended up in losing your important files or data. By means of an antivirus you can easily make sure that your system doesn’t have any virus that can infect your personal as well as business files. Avast facilitates you to schedule scan on daily, weekly or monthly basis according to your preference. You can do it easily and if you don’t know the procedure of doing this, then grab Avast Customer Support as soon as possible. Since, this is the right place where you can get step wise solution to adjust Avast settings for auto-scan.
After you schedule auto-scan, Avast will automatically check and perform legal actions on your computer for viruses at the scheduled time. Some measures are mentioned below by which you can easily schedule Avast to auto-scan your whole computer.
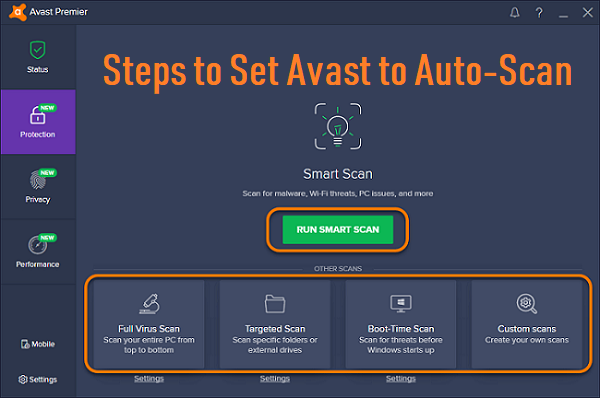
So, let’s follow the steps to start this procedure:
- Open Avast user interface.
- Tap on Antivirus and if the further window doesn’t open by default, then click Scan Now.
- At the bottom right corner of the window tap on the “create custom scan”.
- Choose scheduling and click on the box which is next to schedule this scan
- From the schedule type drop down menu, select the frequency of scan and choose any options for the scan from the scan scheduler section.
- Now, in the Schedule section select time and day of the scan
- To save your scheduled scan Tap OK.
Hopefully, after pursuing these steps, you are able to schedule auto-scan in Avast to protect your system. But, in any case if you find difficulty and unable to perform this action, then we suggest you to go at www.avast.com/support and get reliable assistance in no time. For sure after following their guidance, you will be able to schedule this scan easily.
Note: You can apply scheduling auto-scan on both free and paid versions of Avast.
